I did a lot of research (ie. talked to people in the know, like Jack from Jack White Guitars), and chose a compressor. I wanted to buy something once and for all, rather than something cheaper that would work for now with a view to upgrade later. It’s probably a good thing too, because the way I installed it won’t make it very easy to swap out!
And here it is, the FIAC/Workhorse WR3HP-150S-1 Belt Drive Air Compressor. With a 150 Litre tank and 3HP motor, I’m told this is all I could ever need. Let’s hope so!

As you can see, it has its own living quarters.
First of all, the compressor has to be away from the spray area so that it draws a clean supply of air. This meant I had to build a new container for it. After spending far too long designing something and drawing up a list of materials, I decided the easiest route would be to buy a bike shed. A 6′ x 3′ model did the trick.
Weighing in at 1112kg, I’m not going to be moving the compressor around too much, which is why I wanted the shed built before the compressor arrived.
Once all the parts were painted with Cuprinol (that stuff really stinks! Imagine a stagnant Prosecco pond), the base went down. I used an eco-friendly box pattern base that went over the top of a fabric-like membrane to stop weeds poking through. Then, to make a solid floor for the shed to secure the compressor to, I laid down decking boards.

The problem with the shed that I bought was that the doors were on the tall side, and I wanted it to sit with the tall side against the shed. That spot beside the shed was also a deciding factor, as there was nowhere else in the garden that it could go without being an eyesore or just getting in the way. The patio would have been ideal, but I wasn’t the only person making the decision!

I solved the door problem by screwing the doors together to make the back. I installed this, and the right hand side panel first, despite what the instructions said. I think I invalidated the warranty! Here you can see the two wooden strips I used to keep the parts that used to be doors together to form the back of the shed.
Then I waited for the compressor to show up.

I now needed to sort out some kind of door. Once I had the roof on (nice felting job eh? I’m now a pro….!), I could see what I was dealing with.
The two panels that used to be the back simply became sliding doors that I could push in by putting in the top edge first and sliding the bottom edge into place. Simple! A treated 2×4 beam worked as a central door pillar and held up the roof. A couple of strips of lumber held the floorboards together, and later I put in a couple of blocks on the floorboards to keep the bottom edges of the doors in place.

Here. the right hand door is in place and the other one is sitting in front, waiting to be installed. I didn’t waste time making fancy door handles! They work, and that was all I was concerned with.
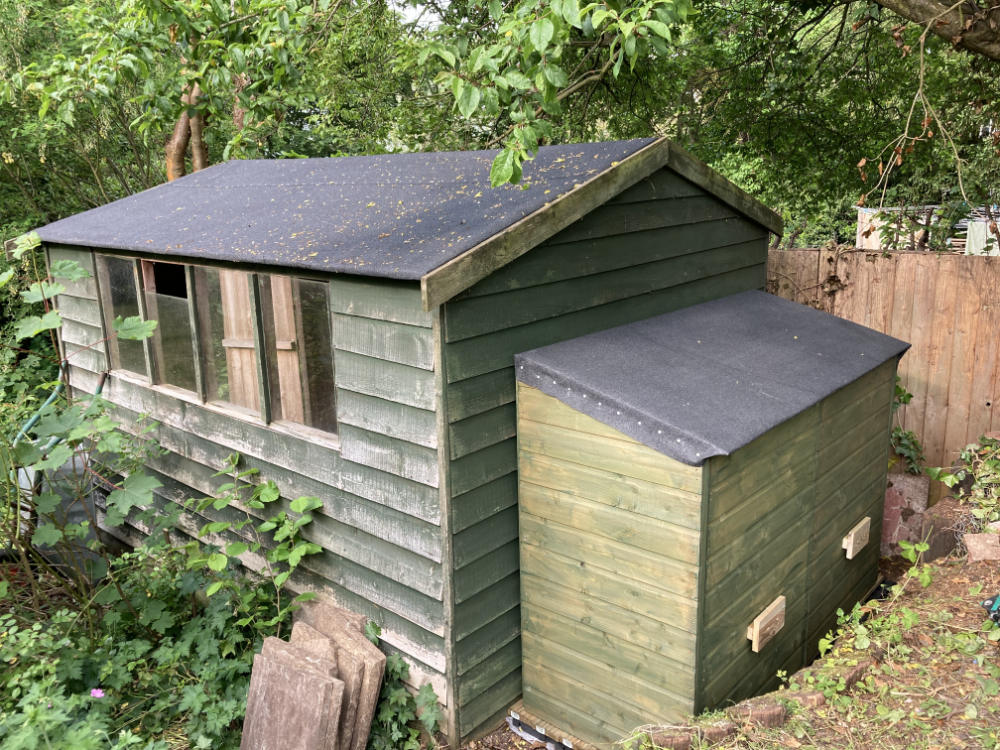
This picture shows the cramped quarters I built the compressor shed in! On the right hand side is a short drop, so the ground where the sheds sit is about two feet lower than the ground on the right. This meant I couldn’t just put in hinged doors like a normal shed.
How do you like the roof felt? Nothing says class like matching shed roofs!